Step-by-Step Instructions: How to Select Images for Retouching
To ensure your final images are delivered on time, please follow the step-by-step directions below. Using any other method to submit your selections will result in delays.

Step 1
After clicking the “View Gallery” link in the gallery delivery email (usually sent within 20 minutes of your session end) Click the down arrow to enter the gallery.

Step 2
When you hover over an image you’ll see 4 options appear over the image. A heart for favoriting the image, a cloud icon to downloading the image, a arrow for sharing your image, and the file name of your image.

Step 3
To select and image for retouching click on the heart icon. You can choose as many or as few as you would like. See your gallery delivery email to see how many come with your session package.
Note: Click on the heart icon again to unselect.
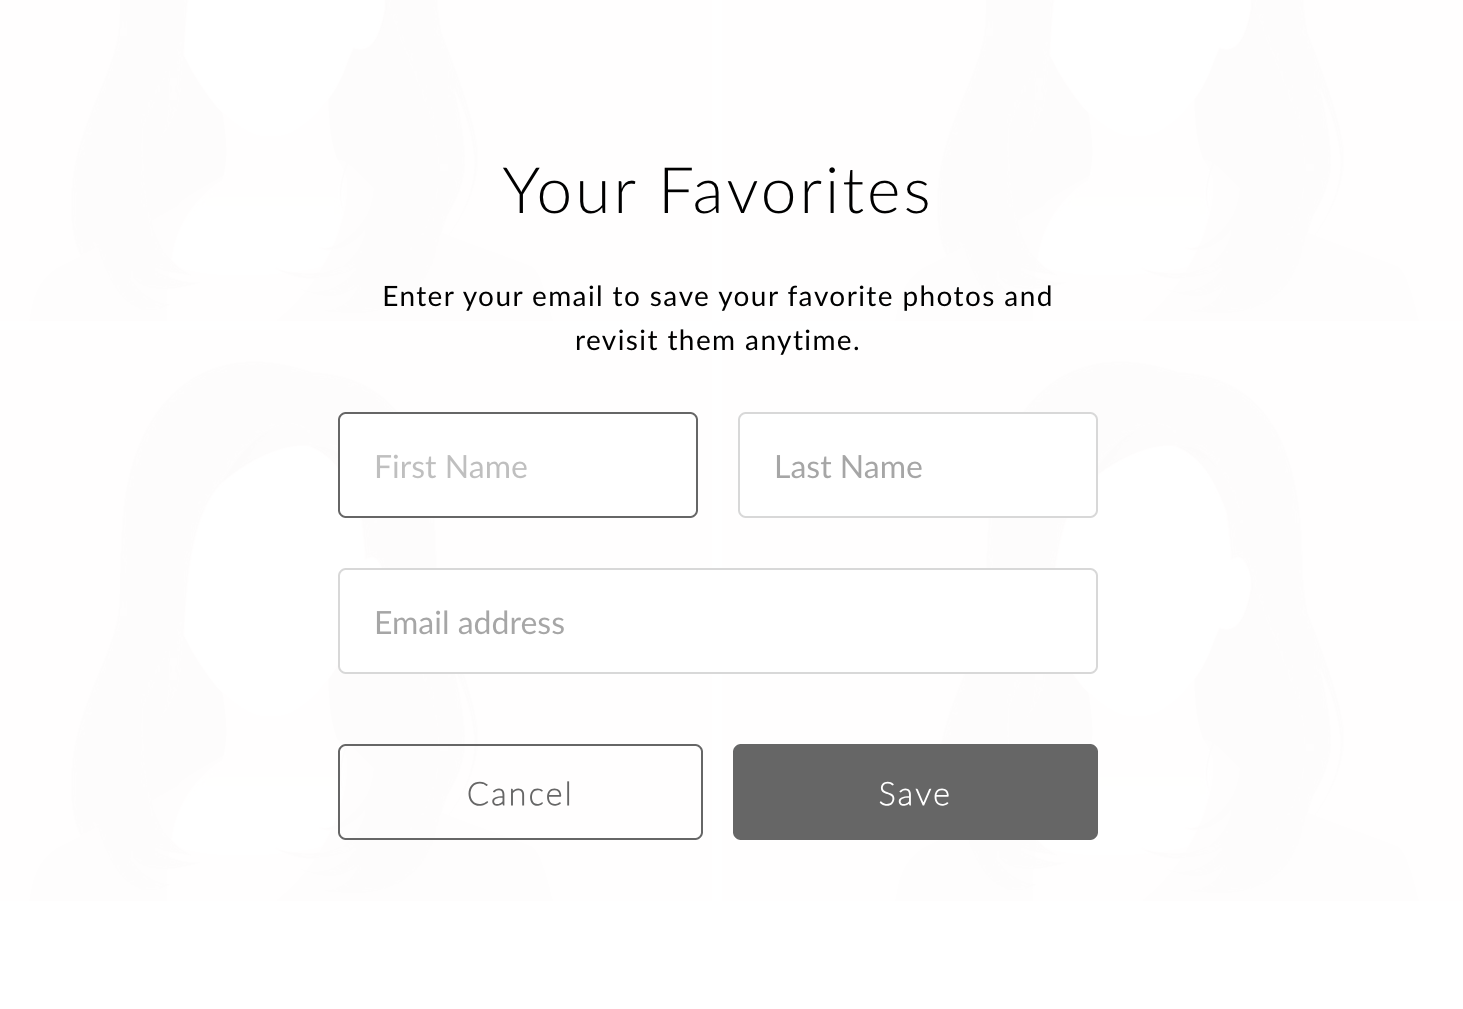
Step 4
When you favorite your first selection you will be prompted to create an account so that your favorites are saved.

Step 5
Once you have made your selections click on the heart in the top right corner of your screen.

Step 6
When your in the ‘My Favorites’ section you can choose “Alert Photographer” to submit your favorites for retouching.

Step 7
Add any notes for editing you would like and choose “Send Message” to submit your images for editing.
You’re done. Images will be added to our queue.